Friday, 15 November 2013

Fitting the upgrades!

Well after turning up for work this morning and discovering I should have been on leave I decided to make good use of the unexpected time off and get some bits fitted!

After carefully removing the stock pickups I unsoldered the old components ready for the upgrades.  Here are the capacitors and push pull pots in the wiring jig ready for soldering.


And an hour later, all fitted nice and snug in the wiring cavity.


I then got to work on levelling the frets.  First of all, using a straight edge sat on identical blocks I adjusted the truss rod until the neck was dead straight.


Then using ink on the frets to highlight high/low spots I carefully levelled the frets with an oil stone.


If you look closely you can see how uneven some of the frets were, so it's no wonder I was getting string rattle around this part of the fret board.


Once level I used a modified triangular file and needle file to re-profile, or 'dress' the frets. The frets were then gone over with fine abrasive paper to remove the tool marks and then finally buffed to a smooth polish with wire wool.


Lily was home from school so we got on with carving the name into the headstock.  Using a paper template and the engraving tool she made a wobbly start...


Because the wood kept throwing the tool off line I ended up helping her to finish it.  And hey presto the Lils Paul is born!


Tomorrow we'll get a coat of Shellac over it to protect the wood and remove the surface scratches, then we can get it re-strung, set up and finally finished!

Tuesday, 12 November 2013

Upgrades!

Okay it's been a while since I last posted, joys of real life getting in the way unfortunately.
After a bit of research I've ordered some parts...

Pickups - I've gone for the Wilkinson Hot PAF's.  They are based on the same design as originally made by the Gibson Guitar Company, are cost effective and have good reviews.  I got this as pair from Vanson Guitars Ebay store as they offered the 4 wire version which allows for coil splitting.


Tone Capacitors - I've gone for Sprague Orange Drop 0.22 bought from Amazon.  They were chosen after reading reviews and advice on the My Les Paul forum

Sprague Orange Drop Capacitor .022uf for Strat Tele Gibson Etc..

Push Pull Pots - Again bought off Amazon,  I got these so I could take advantage of the split coil wiring option included with the Wilkinson Hot PAF's

3pcs B500k Push Pull Guitar Control Pot Tone Potentiometer 16mm diameter 18mm shaft

And lastly I've also ordered some strap locks because as I know from experience there is nothing worse than your precious guitar dropping to the floor because the straps come off!


I got these from Craigs Music Ebay store along with a plain black strap, and bless them, they didn't have the colour locks I ordered and because I accepted the alternative I got a free leather pick holder keyring!

Product Details

I'll get the bits fitted as soon as they get here and while the guitar is stripped down I'll also get the frets levels and dressed.

Friday, 11 October 2013

School of success

Lily took the guitar into school today to show her teacher and class, everyone in school who saw it was very impressed.  She's come home with quite buzz!

Having done some looking in my books (Melvin Hiscock - Make You Own Electric Guitar and Dan Erlewine - Guitar Player Repair Guide) I've gone and got the tools we need to do the full fret dress and crown job.  All being well we'll get this done next week!

I've also recorded a wee demo.  This is simply the guitar plugged straight into my Zoom R8 digital multi-track recorder using the built in guitar effects and drum machine.  I recorded a basic rhythm track and then jammed over the top of it.


Thursday, 10 October 2013

Not quite perfect yet.

After a few tweaks of the truss rod we've gotten rid of the majority of the bottoming out at the 12th fret however it looks like the fret has probably been pushed in a little too far by machine at the factory so without creating too much relief and causing an excess bow in the neck, which will make the action unplayable, it will have to have the frets levelled and dressed.  This is something I don't have the tools for at the moment so it will have to wait a little while.  However in the meantime I have shown it off to a friend who plays and he loves it so all in all definitely a success.  We'll post more when we get the tools to dress the frets

Saturday, 5 October 2013

It's ALIVE!

Okay after a few tweaks with a screw driver the action and intonation are set, it took a whole 5 minutes to get it playable.  So far it's only set at a medium/low action which plays quite nicely except for some very slight bottoming out buzzing around the 12th fret.  The frets are level so I'm going to leave it a few days for the neck to settle with the new tension of the strings and then see if a touch of relief on the truss rod sorts it.


Acoustically it sounds vibrant with nice level of resonance.  Played through my Vox Valvetronics modelling practice amp it sounds really quite okay with the stock pick-ups.  The frequency range/response is as good as you'd expect from any cheap guitar so with a set of decent PAF's installed it ought sound awesome.


Finally after while of waiting I finally let Lil have a go...


For anyone considering this kind of project, with a bit of careful hard work and patience the results can be amazing.  It truly has been a fab Dad and Daughter project with lots of lessons learned along the way.

Strings and things

Here we go time to put the strings on!


All the strings on


A quick earth test before we plug it in


Perfect, time to set the action and intonation.

Friday, 4 October 2013

The journey so far...


The wiring has been done and I sneakily added a couple of strings to test the electrics whilst Lil was at youth club, seems to work well!


The dogs approve


It really has come together well, hopefully tomorrow we'll get it strung and set up and playing.


Electrickery...

So for the wiring...  First of all we got the switch wired up in order to route the cables through the body before refitting the pick-ups.


Rather than the wire supplied in the kit I opted for better quality shielded wires.  The grey one is a single core going to the output jack, the white a dual core from the pick-ups.


The wiring diagram.


Using a box with the holes spaced as per the guitar.  This makes it easier to do the soldering than trying to work inside the wiring cavity.  Once finished it can be transferred and the last few bits done in situ.


Manipulating wires through the terminals of the components


 Applying the heat whilst I applied the solder


 We opted for some shrink-wrap on the capacitor legs to prevent any accidental shorts.  So now were ready to hook up the pick-ups, switch and jack socket then that's the wiring done


After being transferred to the guitar.


Next job is to test the wiring and then it can be strung then set up.

Fitting the tuners

Whilst waiting for the shielding paint to dry we got the tuners fitted


From serious concentration to slightly looney tunes


And a quick nip up of the nut and the first machine head is in, just another five to go!


Painting the graphite shielding

This special conductive graphite paint helps to shield out interference


Wiring cavity nearly done


Switch cavity done 


And a quick shot of the pick-up cavities just prior to refitting the pick-ups


Just as another learning point I would suggest painting the cavities before you work on the finish as it's a reet bugger to clean off afterwards.

Thursday, 3 October 2013

Adding the hardware

After feeding the earth wire through to the bushing hole, Lil carefully hammered the bushing into its hole


A quick continuity test to make sure the wire didn't get damaged during the hammering


And within minutes all four bushing are hammered home


The stop tail and bridge fit perfectly!


Now with a bit of help to steady the drill Lil fitted the pick-ups.  The top and bottom strings were placed in order to make sure the pick-ups were positioned properly.


Screwing them down


Drilling the holes for the strap buttons.


That's it for today, tomorrow we'll get the tuners fitted and paint the wiring cavities with shielding paint.

The finish is finished!!!

After a bit of hard and to be honest quite laborious work, the final ten coats of shellac are on.


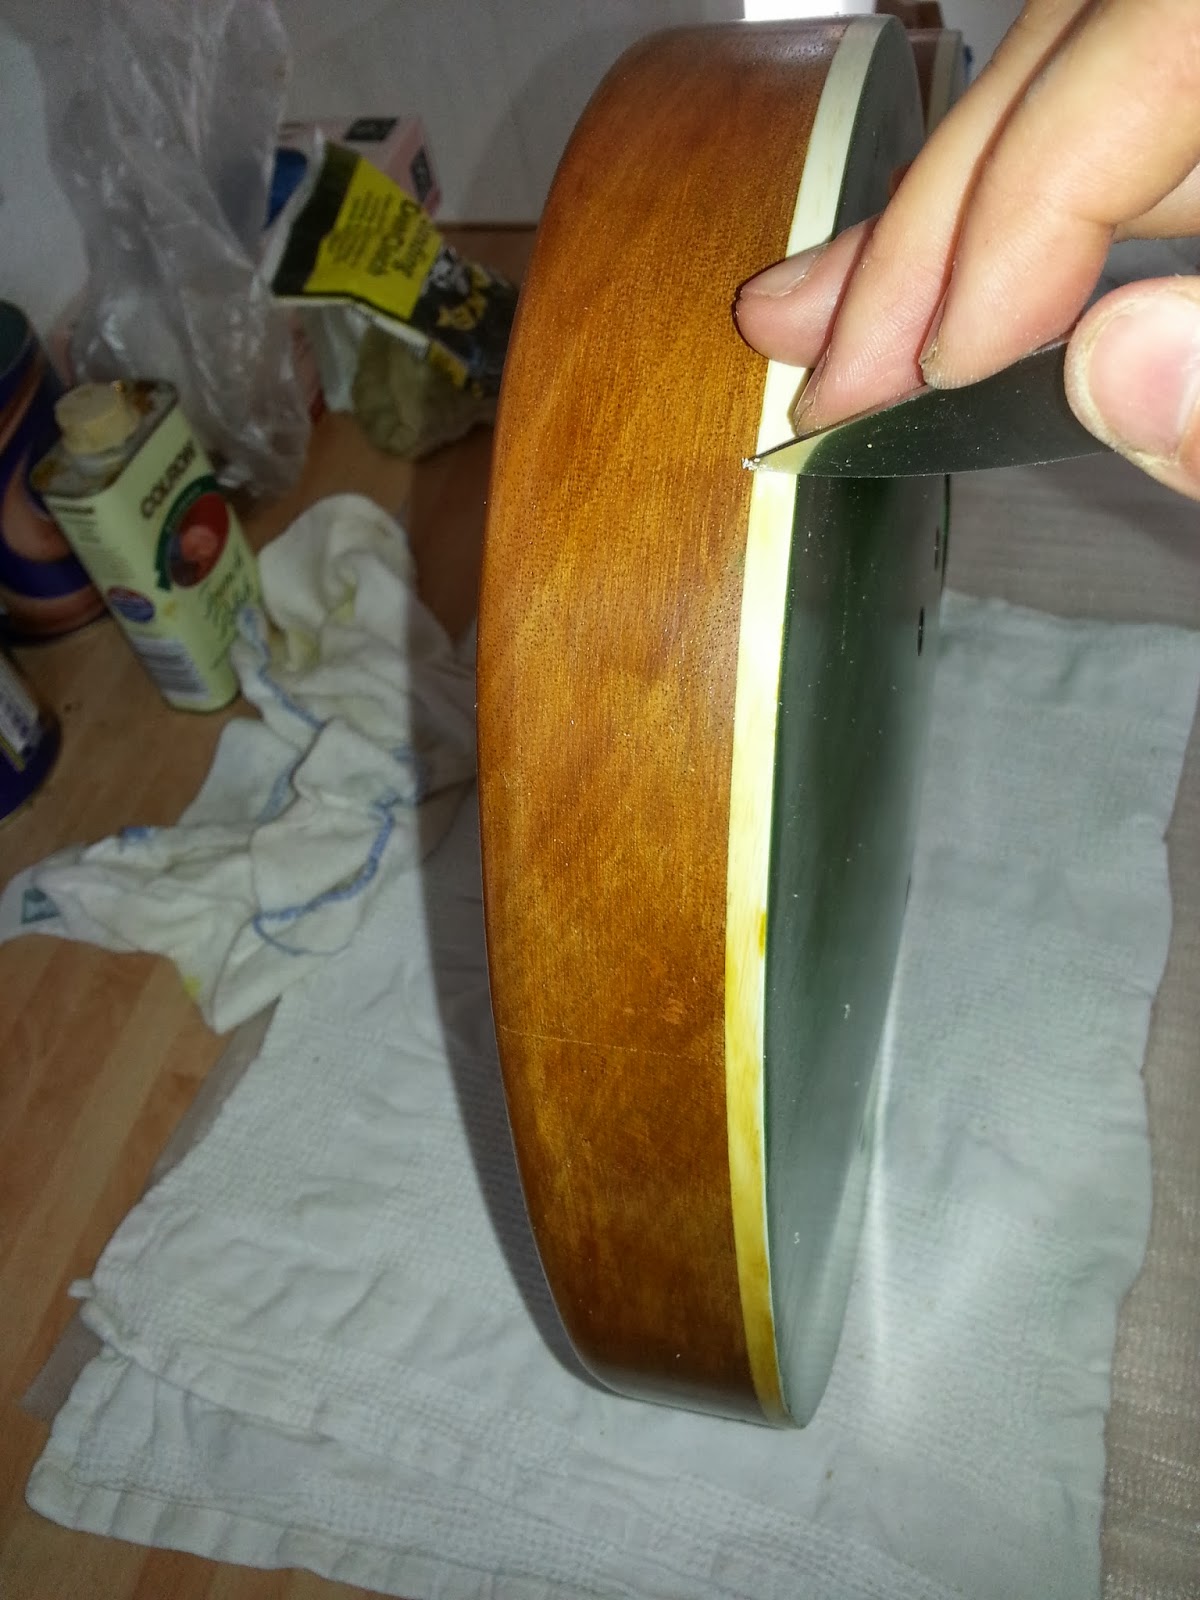
Just a little bit of careful scraping with a sharp knife edge to remove the shellac from the binding.


After some polishing with bees wax we now have a super shiny reflective finish coat.


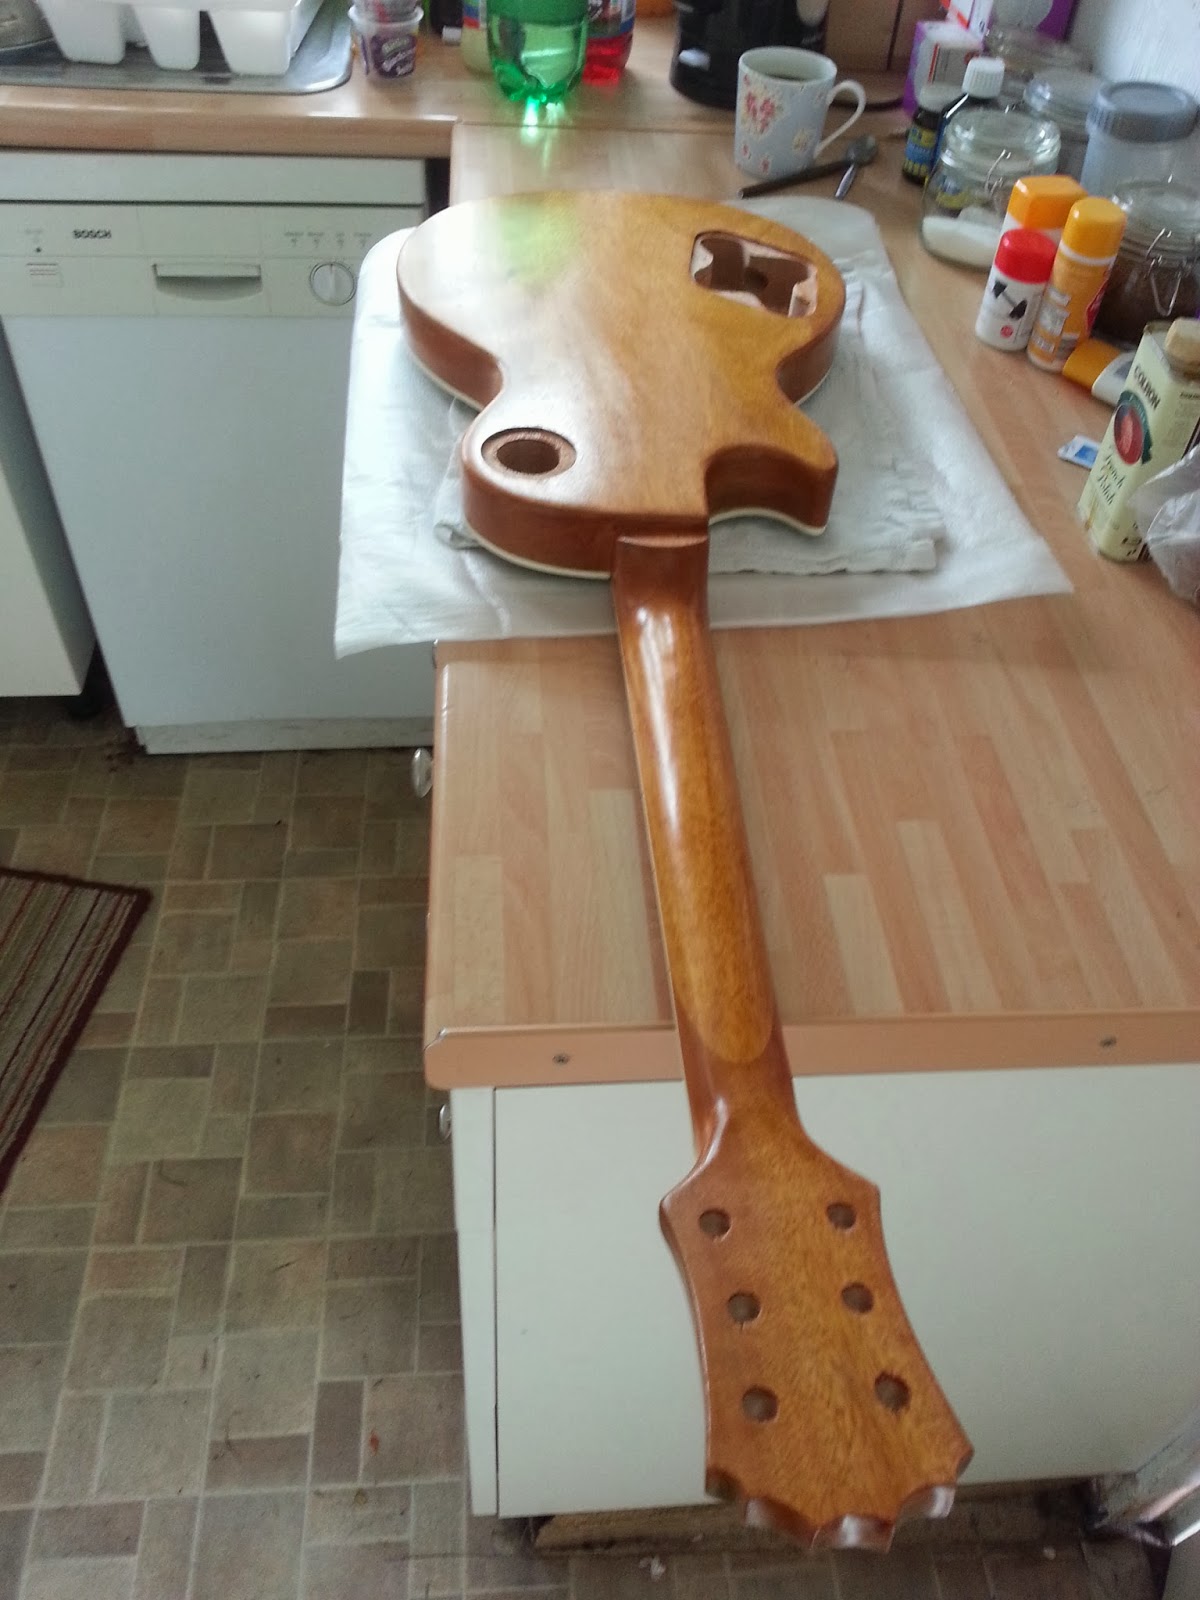
And the back, the neck feels so silky and warm that I really can't wait till it's playable...