Saturday, 5 October 2013

Strings and things

Here we go time to put the strings on!


All the strings on


A quick earth test before we plug it in


Perfect, time to set the action and intonation.

Friday, 4 October 2013

The journey so far...


The wiring has been done and I sneakily added a couple of strings to test the electrics whilst Lil was at youth club, seems to work well!


The dogs approve


It really has come together well, hopefully tomorrow we'll get it strung and set up and playing.


Electrickery...

So for the wiring...  First of all we got the switch wired up in order to route the cables through the body before refitting the pick-ups.


Rather than the wire supplied in the kit I opted for better quality shielded wires.  The grey one is a single core going to the output jack, the white a dual core from the pick-ups.


The wiring diagram.


Using a box with the holes spaced as per the guitar.  This makes it easier to do the soldering than trying to work inside the wiring cavity.  Once finished it can be transferred and the last few bits done in situ.


Manipulating wires through the terminals of the components


 Applying the heat whilst I applied the solder


 We opted for some shrink-wrap on the capacitor legs to prevent any accidental shorts.  So now were ready to hook up the pick-ups, switch and jack socket then that's the wiring done


After being transferred to the guitar.


Next job is to test the wiring and then it can be strung then set up.

Fitting the tuners

Whilst waiting for the shielding paint to dry we got the tuners fitted


From serious concentration to slightly looney tunes


And a quick nip up of the nut and the first machine head is in, just another five to go!


Painting the graphite shielding

This special conductive graphite paint helps to shield out interference


Wiring cavity nearly done


Switch cavity done 


And a quick shot of the pick-up cavities just prior to refitting the pick-ups


Just as another learning point I would suggest painting the cavities before you work on the finish as it's a reet bugger to clean off afterwards.

Thursday, 3 October 2013

Adding the hardware

After feeding the earth wire through to the bushing hole, Lil carefully hammered the bushing into its hole


A quick continuity test to make sure the wire didn't get damaged during the hammering


And within minutes all four bushing are hammered home


The stop tail and bridge fit perfectly!


Now with a bit of help to steady the drill Lil fitted the pick-ups.  The top and bottom strings were placed in order to make sure the pick-ups were positioned properly.


Screwing them down


Drilling the holes for the strap buttons.


That's it for today, tomorrow we'll get the tuners fitted and paint the wiring cavities with shielding paint.

The finish is finished!!!

After a bit of hard and to be honest quite laborious work, the final ten coats of shellac are on.


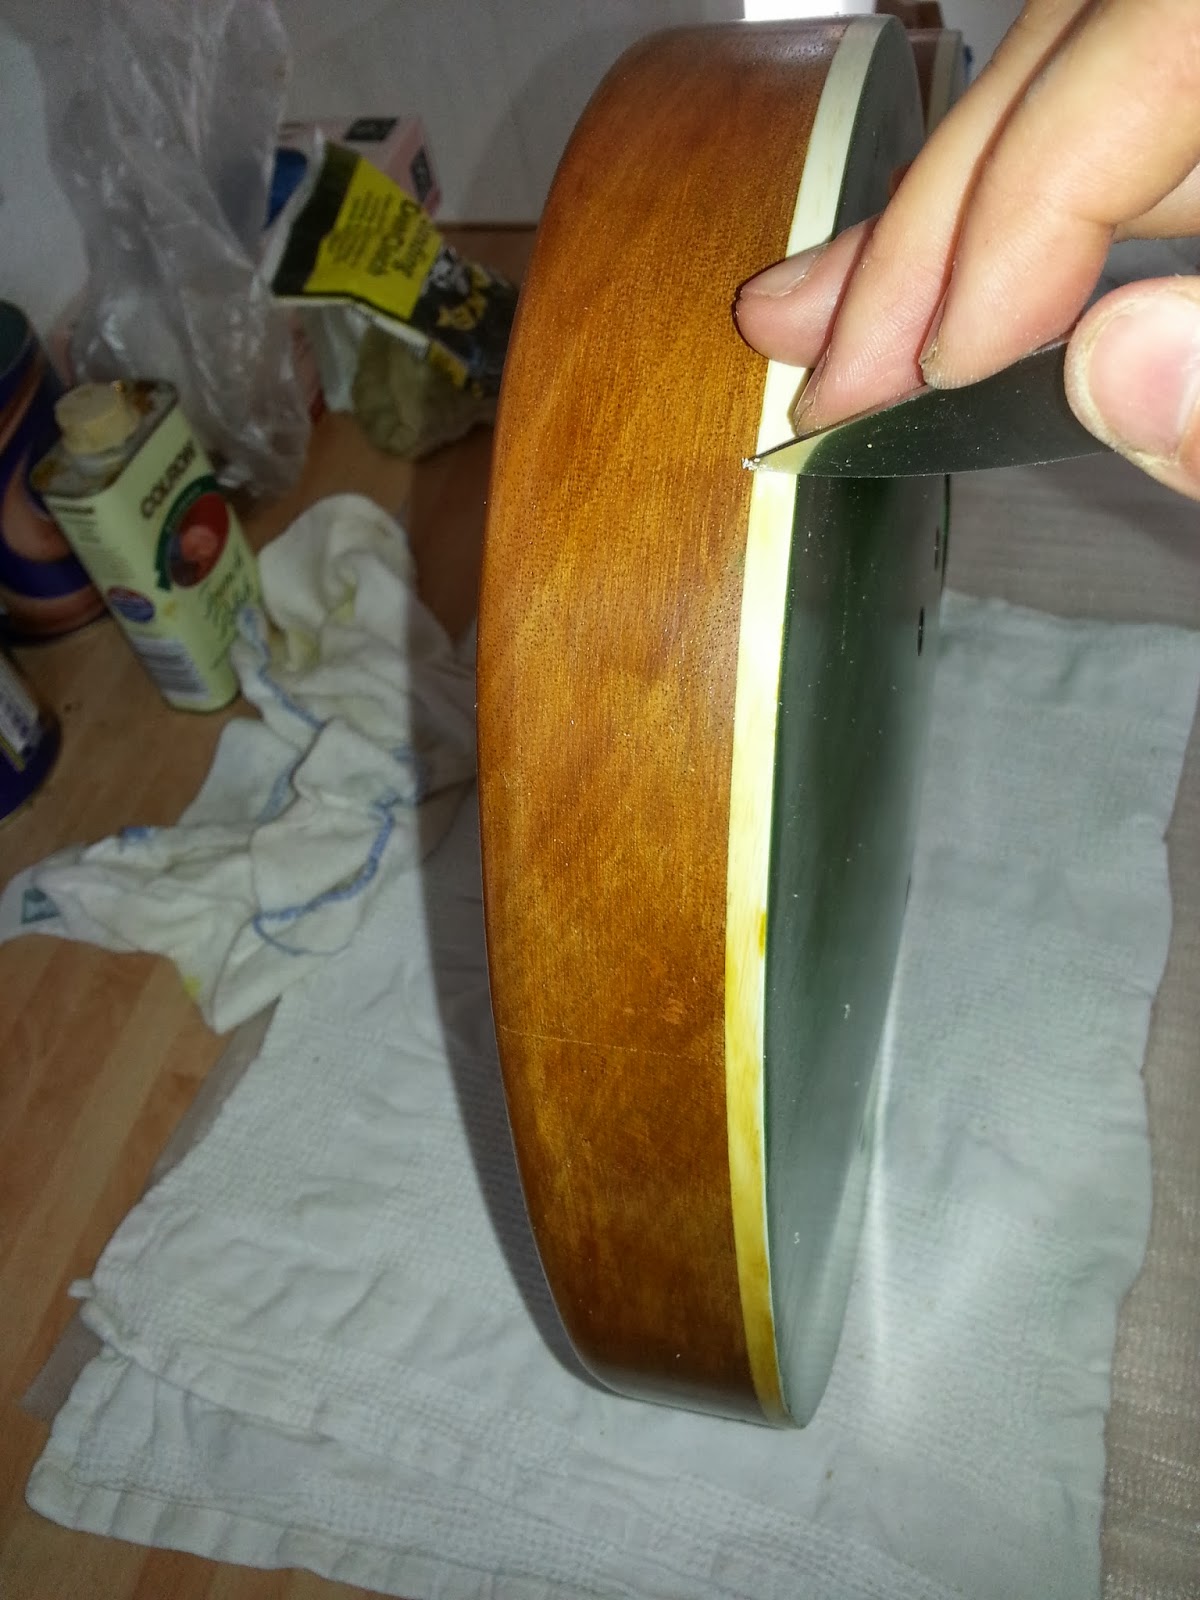
Just a little bit of careful scraping with a sharp knife edge to remove the shellac from the binding.


After some polishing with bees wax we now have a super shiny reflective finish coat.


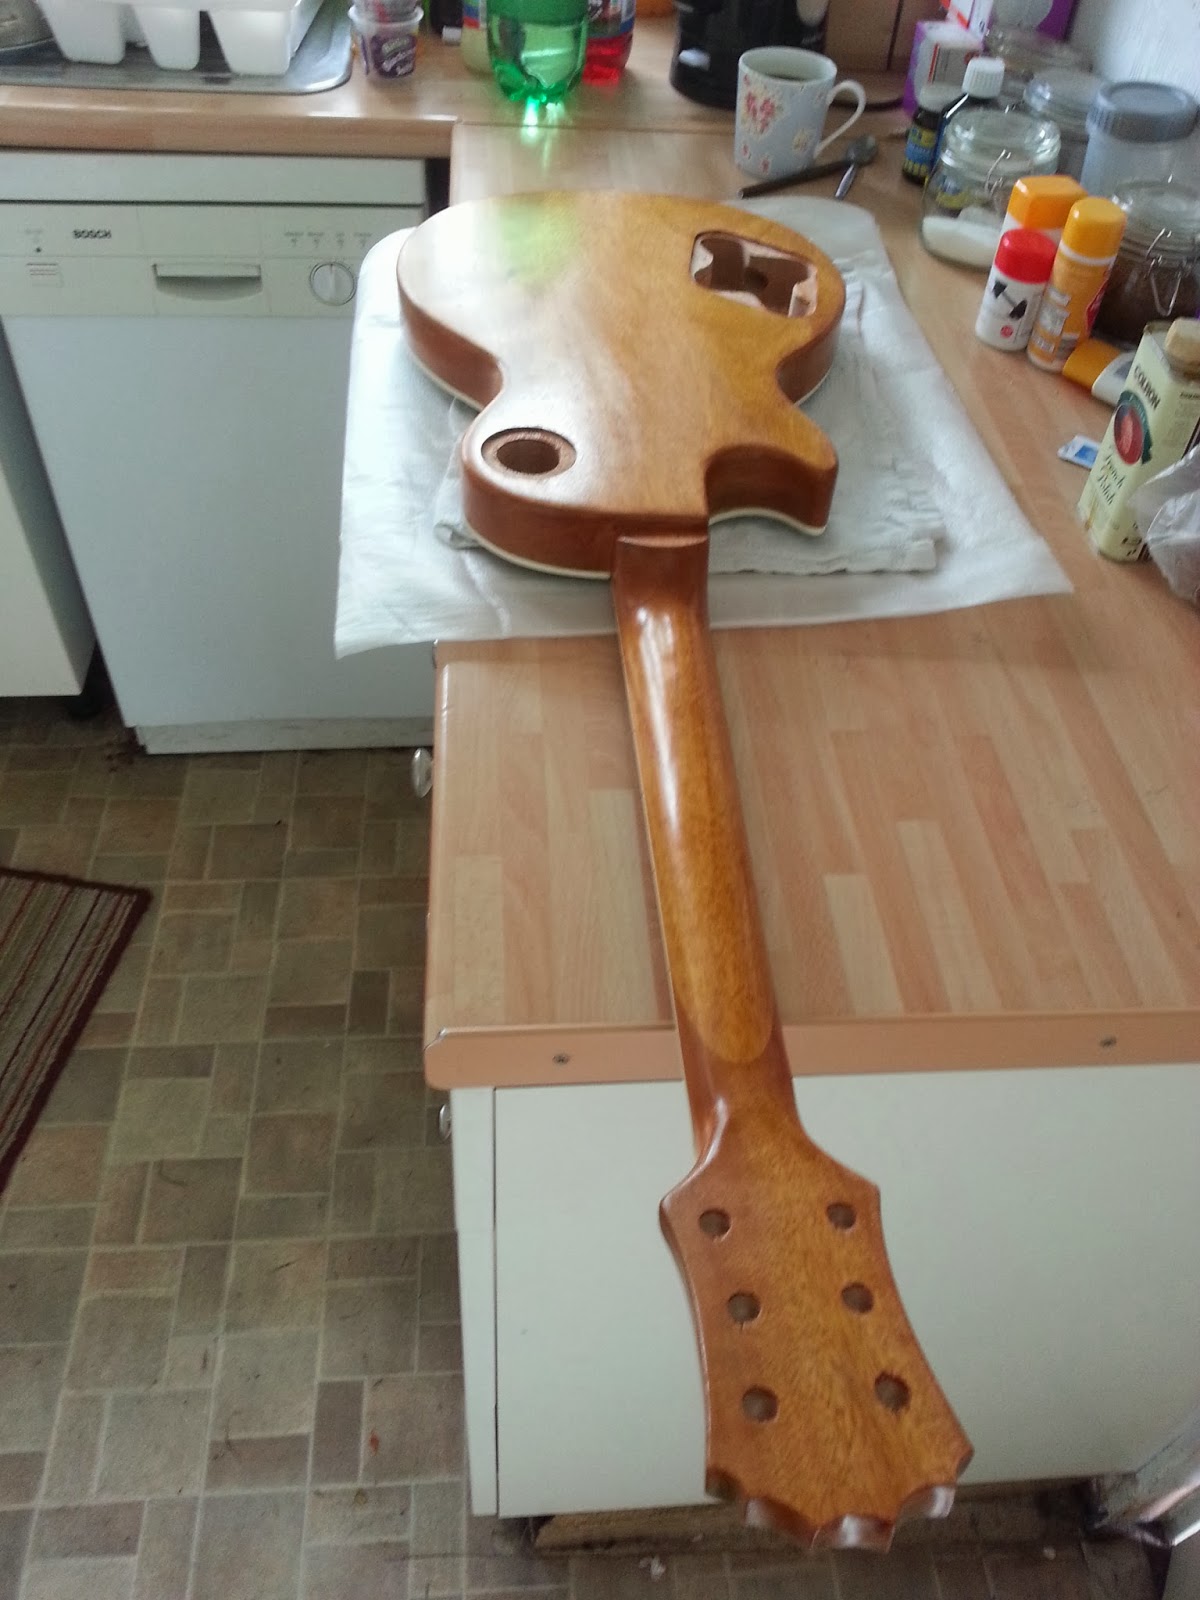
And the back, the neck feels so silky and warm that I really can't wait till it's playable...